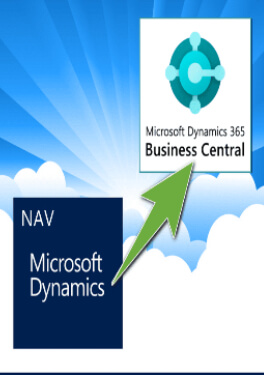
Upgrading NAV to Microsoft Dynamics 365 Business Central is an essential process that helps businesses improve their efficiency and reduce overall costs.
If you are looking to enjoy the new levels of functionality that come with upgrading to Business Central, this guide is all you need.
The process of upgradation will depend on the software version that you are using currently.
If you are using the latest version, you can upgrade directly while those who are using other versions will first have to upgrade to Dynamics 365 Business Central v14.
Why Should You Upgrade From NAV to Dynamics 365 Business Central?
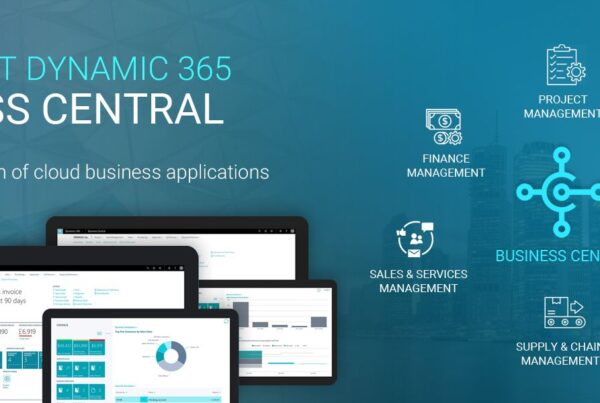
There are numerous benefits that come with upgrading to Dynamics 365 Business Central using Navision gradation services.
You can optimize your supply chains and warehouse management in the process.
Apart from these, a few other benefits include:
1. Improve Flexibility at Work
Navision upgradation services let you migrate to Business Central easily which helps improve your adaptability and flexibility.
It lets you access your data from anywhere and at any time. This platform also has the additional benefits of being easily scalable and deployable.
Also, you can easily identify opportunities and enhance team productivity.
2. Better Financial Management
Microsoft Business Central helps businesses manage their finances better. It is a great tool that can help you with budget management, project cost optimization, and cash flows.
Another reason you need Navision upgradation is that Business Central supports a variety of currencies and inter-company transactions, letting the accounting team work more efficiently and quickly.
3. Helps With Customer Service
With Business Central, the customer service team can access and review customer data in a single view to come to the right solutions.
They can easily monitor and track the services provided and service agreements, which in turn enhances customer service.
How to Upgrade to Microsoft Dynamics 365 Business Central?
1. If you’re using an older version of NAV, you will have to upgrade to a more recent version.
All you have to do after that is to upgrade the application code and then upgrade the data. This is for businesses that are using NAV 2015, 2016, 2017, or 2018.
If you using an older version of NAV like NAV 2013 or NAV 2013 R2, you will have to first upgrade to NAV 2018.
Then you can follow the same process of upgrading the application code and the data.
Similarly, for even older versions of NAV like NAV 2009 SP1 and R2, you can upgrade to any 2013 and 2015.
Follow the process of upgrading to 2018 and repeat the procedure of upgrading the application code and data as mentioned above.
2. If you are using NAV 5.0 and 4.0, upgrade to NAV 2013 and repeat the above steps.
a) The next step is to convert all your customized features to apps and extensions.
b) The last step is to make use of the cloud migration tool to upgrade from NAV to Microsoft Dynamics 365 Business Central.
Steps to Prepare for a Technical Upgrade from NAV to Dynamics 365 Business Central
The steps mentioned above form the outline of the Navy upgrade. Follow the steps given below before a technical upgrade to Dynamics 365 Business Central.
1. Perform a Full Backup of the Database.
The time required to do this process will depend on your database size. You can opt for a differential backup if you have a very large database and do not have sufficient time.
2. The Next Step is to Uninstall the Extensions.
Uninstall all the extensions if you are using a single-tenant mode. On the other hand, you have to uninstall all the V extensions if you are in multi-tenant mode.
3. Avoid Errors by Compiling All the Objects and Synchronizing the Tables.
4. Microsoft gives a Business Central partner license to the SQL Server. All you have to do in this step is to save and upload that license.
5. Stop the old Dynamics NAV instance and clear the server instance and breakpoint tables. The SQL Server Management Studio is one tool that you can use for this process.
6. The last step in preparing for the technical upgrade is to close all the connections to the database.
How to Run the Technical Upgrade?
You have only prepared for a technical upgrade of dynamics NAV to Business Central.
If all of these steps seem overwhelming, you can always seek the help of a navigation up gradation services partner
1. Install the new Business Central solution and its different components.
After doing this, run the NAV development environment as administrator and connect to the application database.
Use the name format SQLDatabaseServerName.database.windows.net to connect to the Azure SQL database.
2. Open the database information window and connect the development environment to the server instance.
You can click on the server instance option and choose one from the available server instances.
The next step is to copy the code given to you by Microsoft and save it. You can import code unit 1 replacement after you have saved the code.
3. The next thing to do to upgrade Dynamics NAV is to go to Object Designer and compile all objects. After converting to the Business Central database, you can fix all the compilation errors.
4. The last step is to sync the tenant database with the application database.
After you are done with the technical upgrade, upgrade the control add-ins that are JavaScript based and also install V2 extensions if you are using a single tenant mode.
The next step is to transition from code unit 1 to management code units.
The process is complete when you configure all the pages and reports and make them searchable.
You can finally upload your customer license to upgrade Dynamics NAV to Business Central.
Pro Ascend is the best ERP implementation partner for Microsoft Dynamics 365 Business Central.
Connect with us to take your business to the next level by implementing MS Dynamic 365 Business Central through our Navision upgradation services.